In which ASRock bricks my motherboard and a random $10 Chinese device comes to the rescue, with the help of a German gentleman
Since I no longer trust the spyware that is Windows 10, I have wanted to move my main PC (6700K CPU, R9 290 graphic card, ASRock Z170 Pro4 motherboard) to Linux for months now and finally did it yesterday. Everything worked as expected until, while working inside Ubuntu, I started getting messages that the computer was low on disk space even though I had allocated 25 gigabytes to the root partition.
Using ncdu in the terminal, I found that the log folder was taking up all the space, and found that /var/log/kern.log and /var/log/syslog were being written to at what seemed to be a rate of 1 MB/second, with endless repetitions of:
ACPI Error: Method parse/execution failed [\_GPE._L6F] (Node ...), AE_NOT_FOUND (...)
Another issue was that the kworker process was using constantly 100% of one of the eight CPU cores.
Forums suggested this was a motherboard firmware issue. So I decided to do a firmware update. My firmware was a pretty early one, something like version 1.5, while the latest available firmware is 7.3. I went to the UEFI interface and tried using the “Internet Flash” utility provided by ASRock. It successfully retrieved the fact that there was a 7.5 version update available to the firmware, but when clicking on update, it would conveniently fail to connect to the internet. Somehow the geniuses at ASRock had created software that could connect to the internet to ask if an update was available, but on downloading the update it would fail to connect to the internet. Still, I am glad that we are light years ahead of the pain, anguish and days of wasted labor that we used to suffer in the 90’s to fix a simple hardware issue.
I downloaded the BIOS binary file from the ASRock website, put it on a USB flash drive, and went to UEFI interface again, this time using the “Instant Flash” utility. The first time I tried it, the computer instantly crashed and rebooted, and nothing else happened. I tried a second time. This time it seemed to work, until the firmware update got stuck at 10%. I waited for hours to see if it would finish, but it didn’t. I left my computer on overnight, thinking that there might still be a tiny chance it would eventually finish. In the morning it hadn’t. So I hard rebooted my PC, and then nothing. It would turn on, but it wouldn’t give any output, not even the ASRock logo that shows at the beginning.
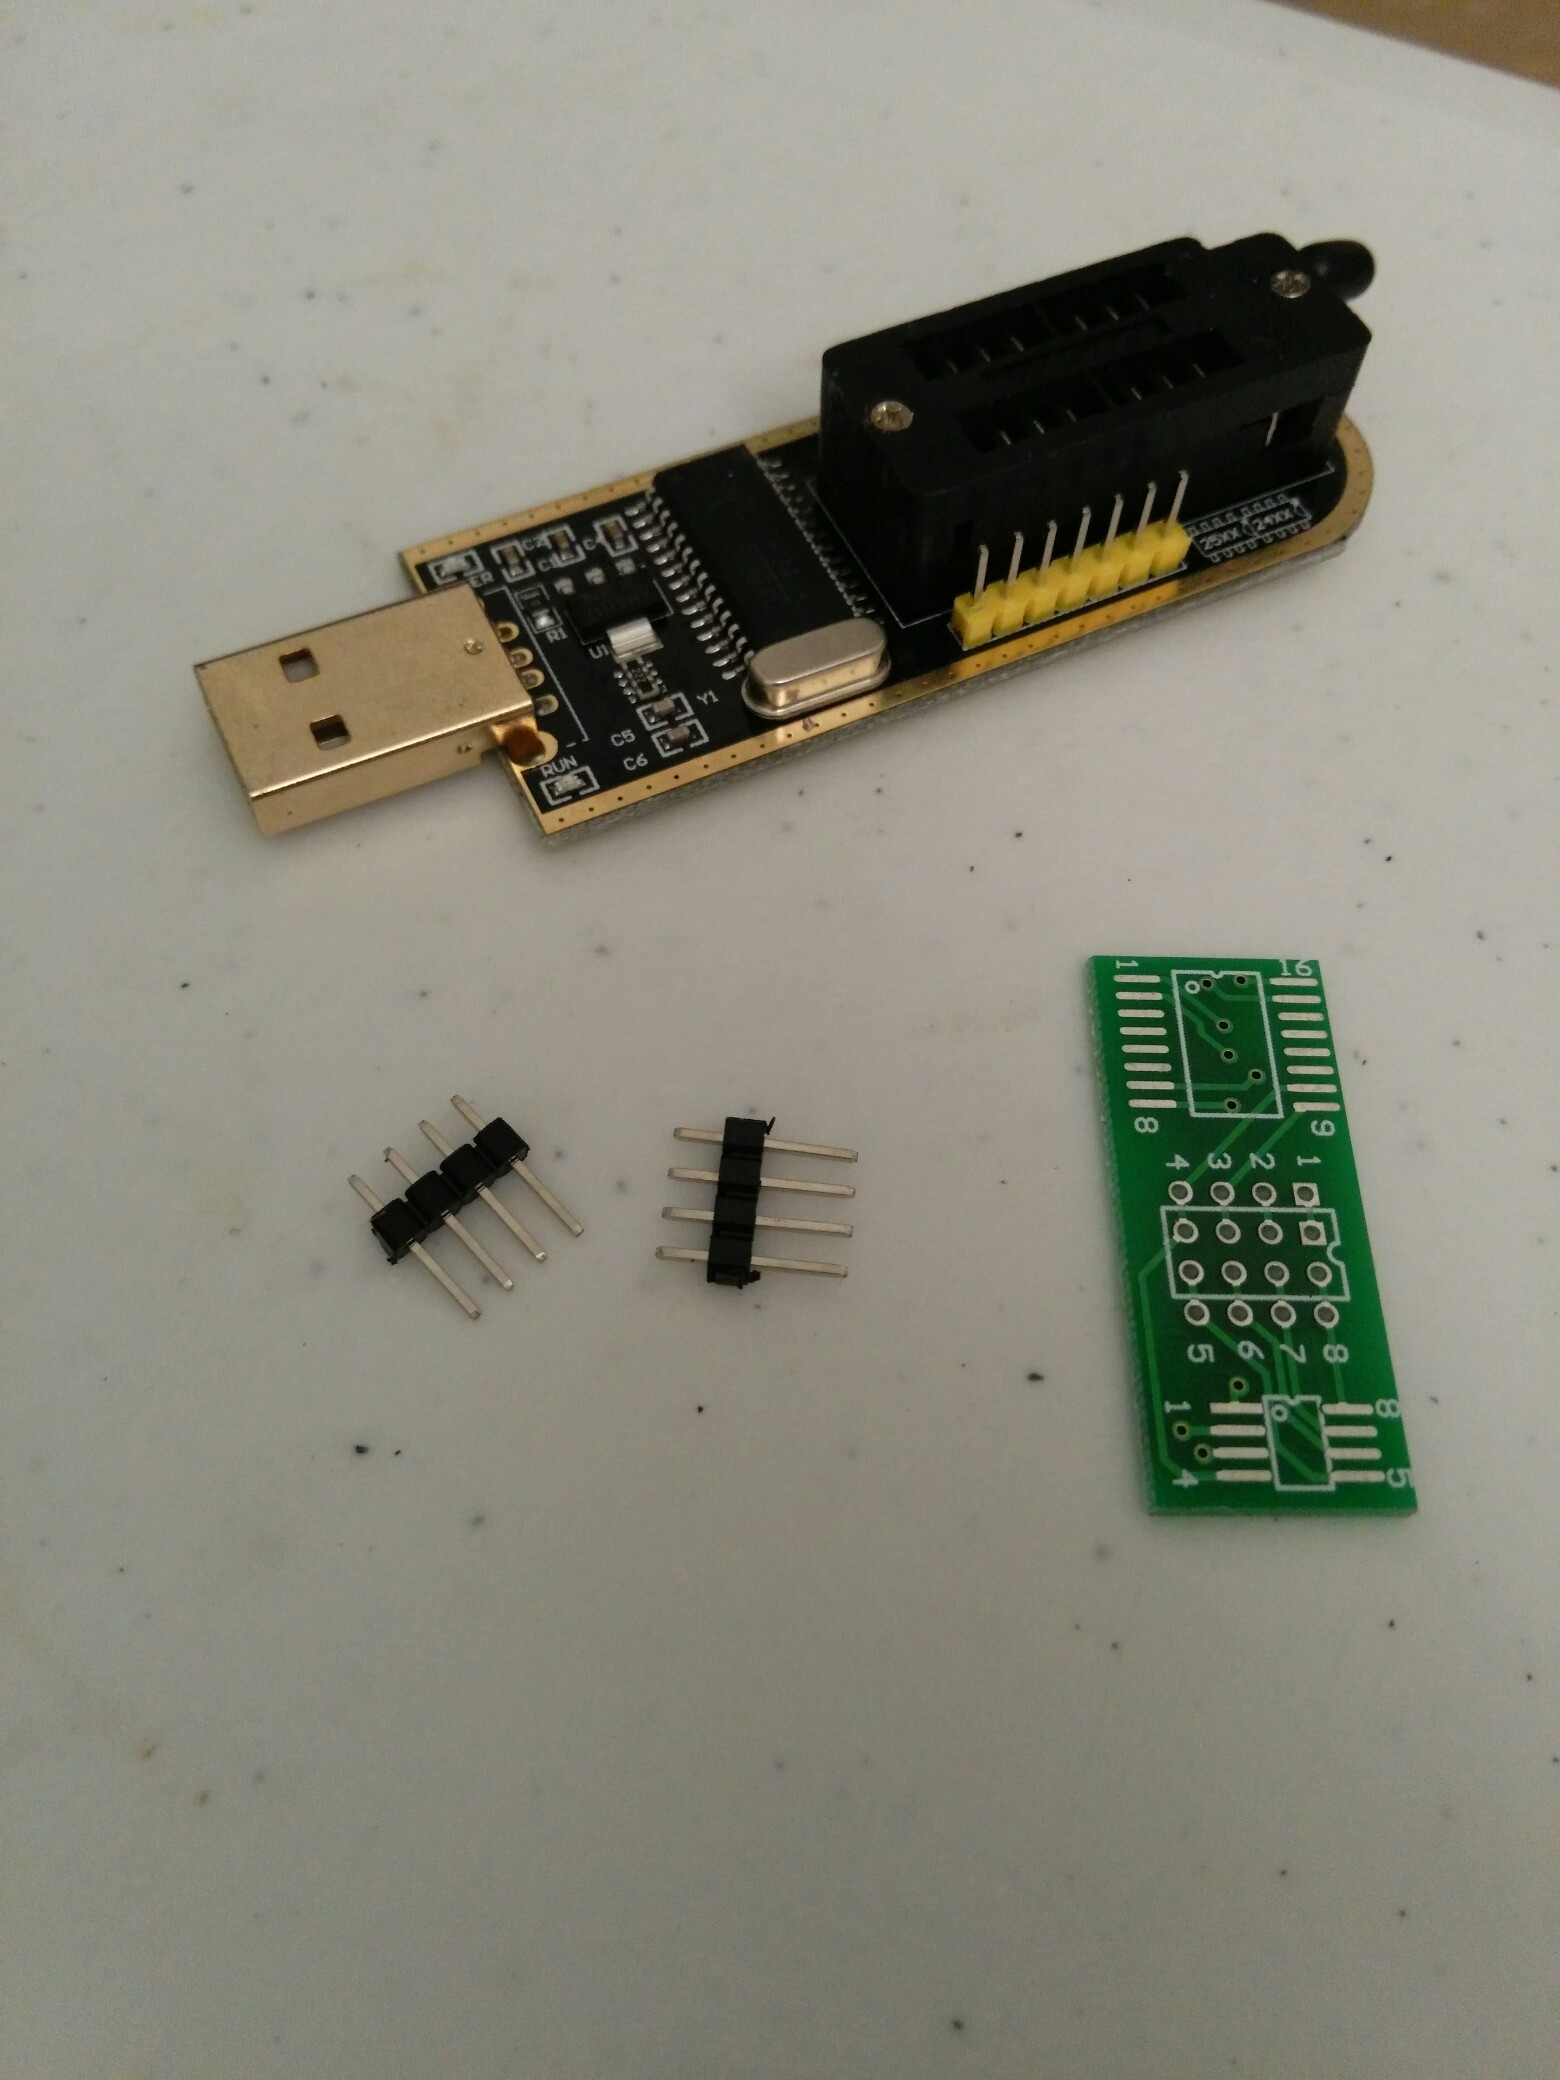
Knowing that the BIOS chip had probably become corrupted from the update and that I had probably upgraded my motherboard from an ASRock to an ASBrick, I looked to see what could be done. After yanking on the BIOS chip on the motherboard for a while, I found that it was designed to come off, so I took it out. I then learned about devices that can reflash a corrupted BIOS chip. I found out about the the Chinese device CH341A that sells for about $10. I ordered one made by a company called SMAKN on Amazon with overnight delivery. This morning it arrived.
At first I was dismayed to see that there were three unattached pieces, I thought they might need soldiering:
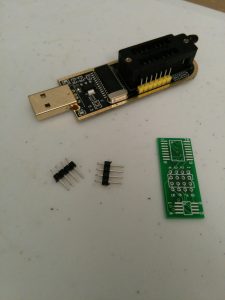
But after watching this video by UltraNSC, I found that I wouldn’t be needing those pieces. I installed the software provided in the description of the video on an old but working Windows 7 laptop that I have, inserted the device, tried installing all the drivers in the file, and still the software (CH341A.exe) wouldn’t detect the device. I unplugged the device and moved to another USB port, and this time the software detected it.
The software detected that the BIOS chip had a size of 16 megabytes, similar to the binary file provided by ASRock. This was a good sign. I erased the BIOS chip with the software, then tried to open the binary file with the software but it wouldn’t detect it because the file provided by ASRock doesn’t have a filetype extension. I renamed the file to have a .bin extension, and now the software could see it. I loaded the file and clicked “Program” to write it to the chip. Everything worked without a problem. I clicked “Verify” to make absolutely sure the data was copied without error and that came out positive.
I put the BIOS chip back into the motherboard and turned the computer on. A message by American Megatrends came up, and clicking F12, it took me to the UEFI interface. I rebooted and was immediately taken into Windows as the UEFI had forgotten my preferred boot device order. Windows tried to do some sort of automatic repair then restarted the computer, at which point I went into the UEFI interface and told it to use my main SSD as the boot device. Restarting, I was taken into grub, and from there went into Ubuntu. Logging in, I saw that kworker wasn’t acting up anymore, and that the logs weren’t being flooded.
Now it is time to install Windows 7 in a networking-disabled virtual machine inside Ubuntu so that I can continue using OneNote and Photoshop without sending all my data to Microsoft. I have also kept my Windows 10 installation on another partition just in case I ever need it, for example to play Battlefield 1, though it seems I’ve become enough of an adult that video games barely interest me anymore, though I still enjoy watching Stodeh on Twitch.
 The Solution
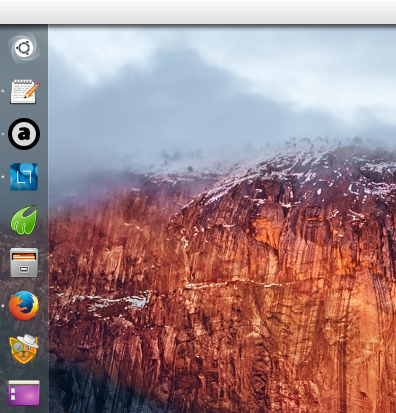
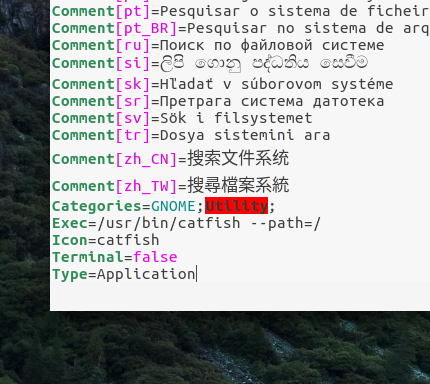 Now, when I click the Catfish icon on the Unity launcher, the default search path is “File System”, which is how the program refers to the root directory.